|
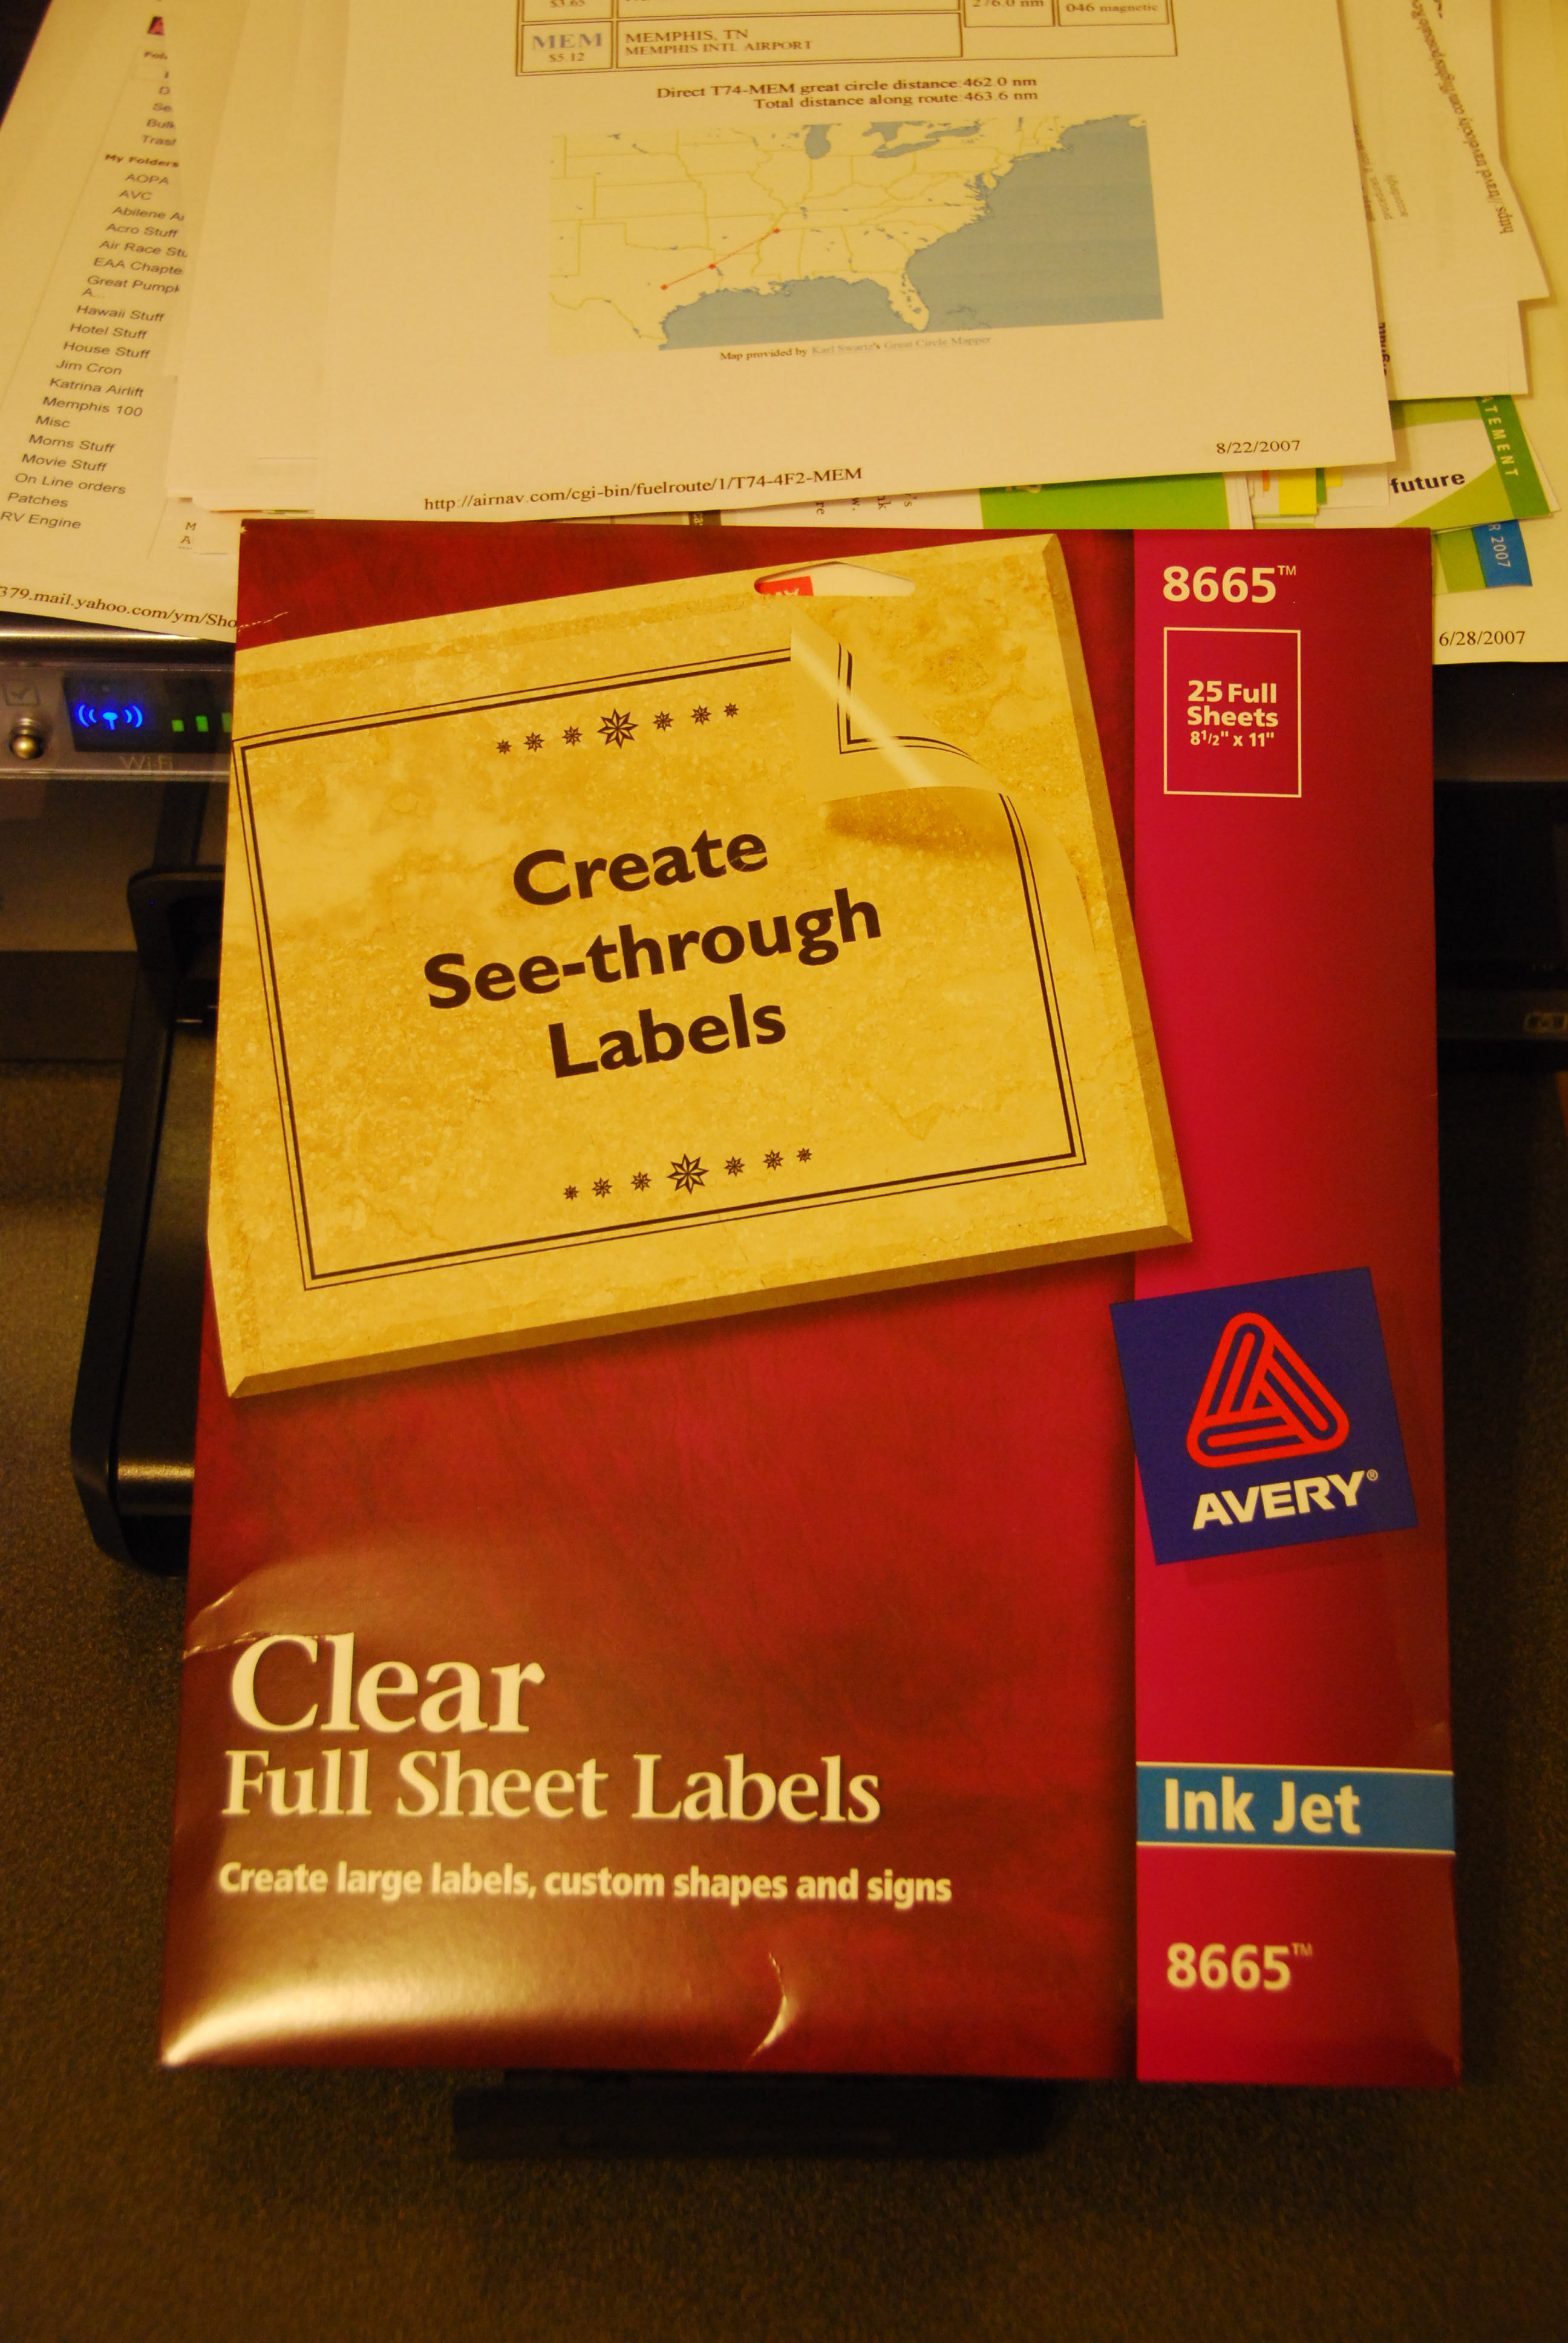
Start with Avery clear full sheet labels, stock number 8665. You can these in packages of 25 sheets for about $16
on Amazon.com
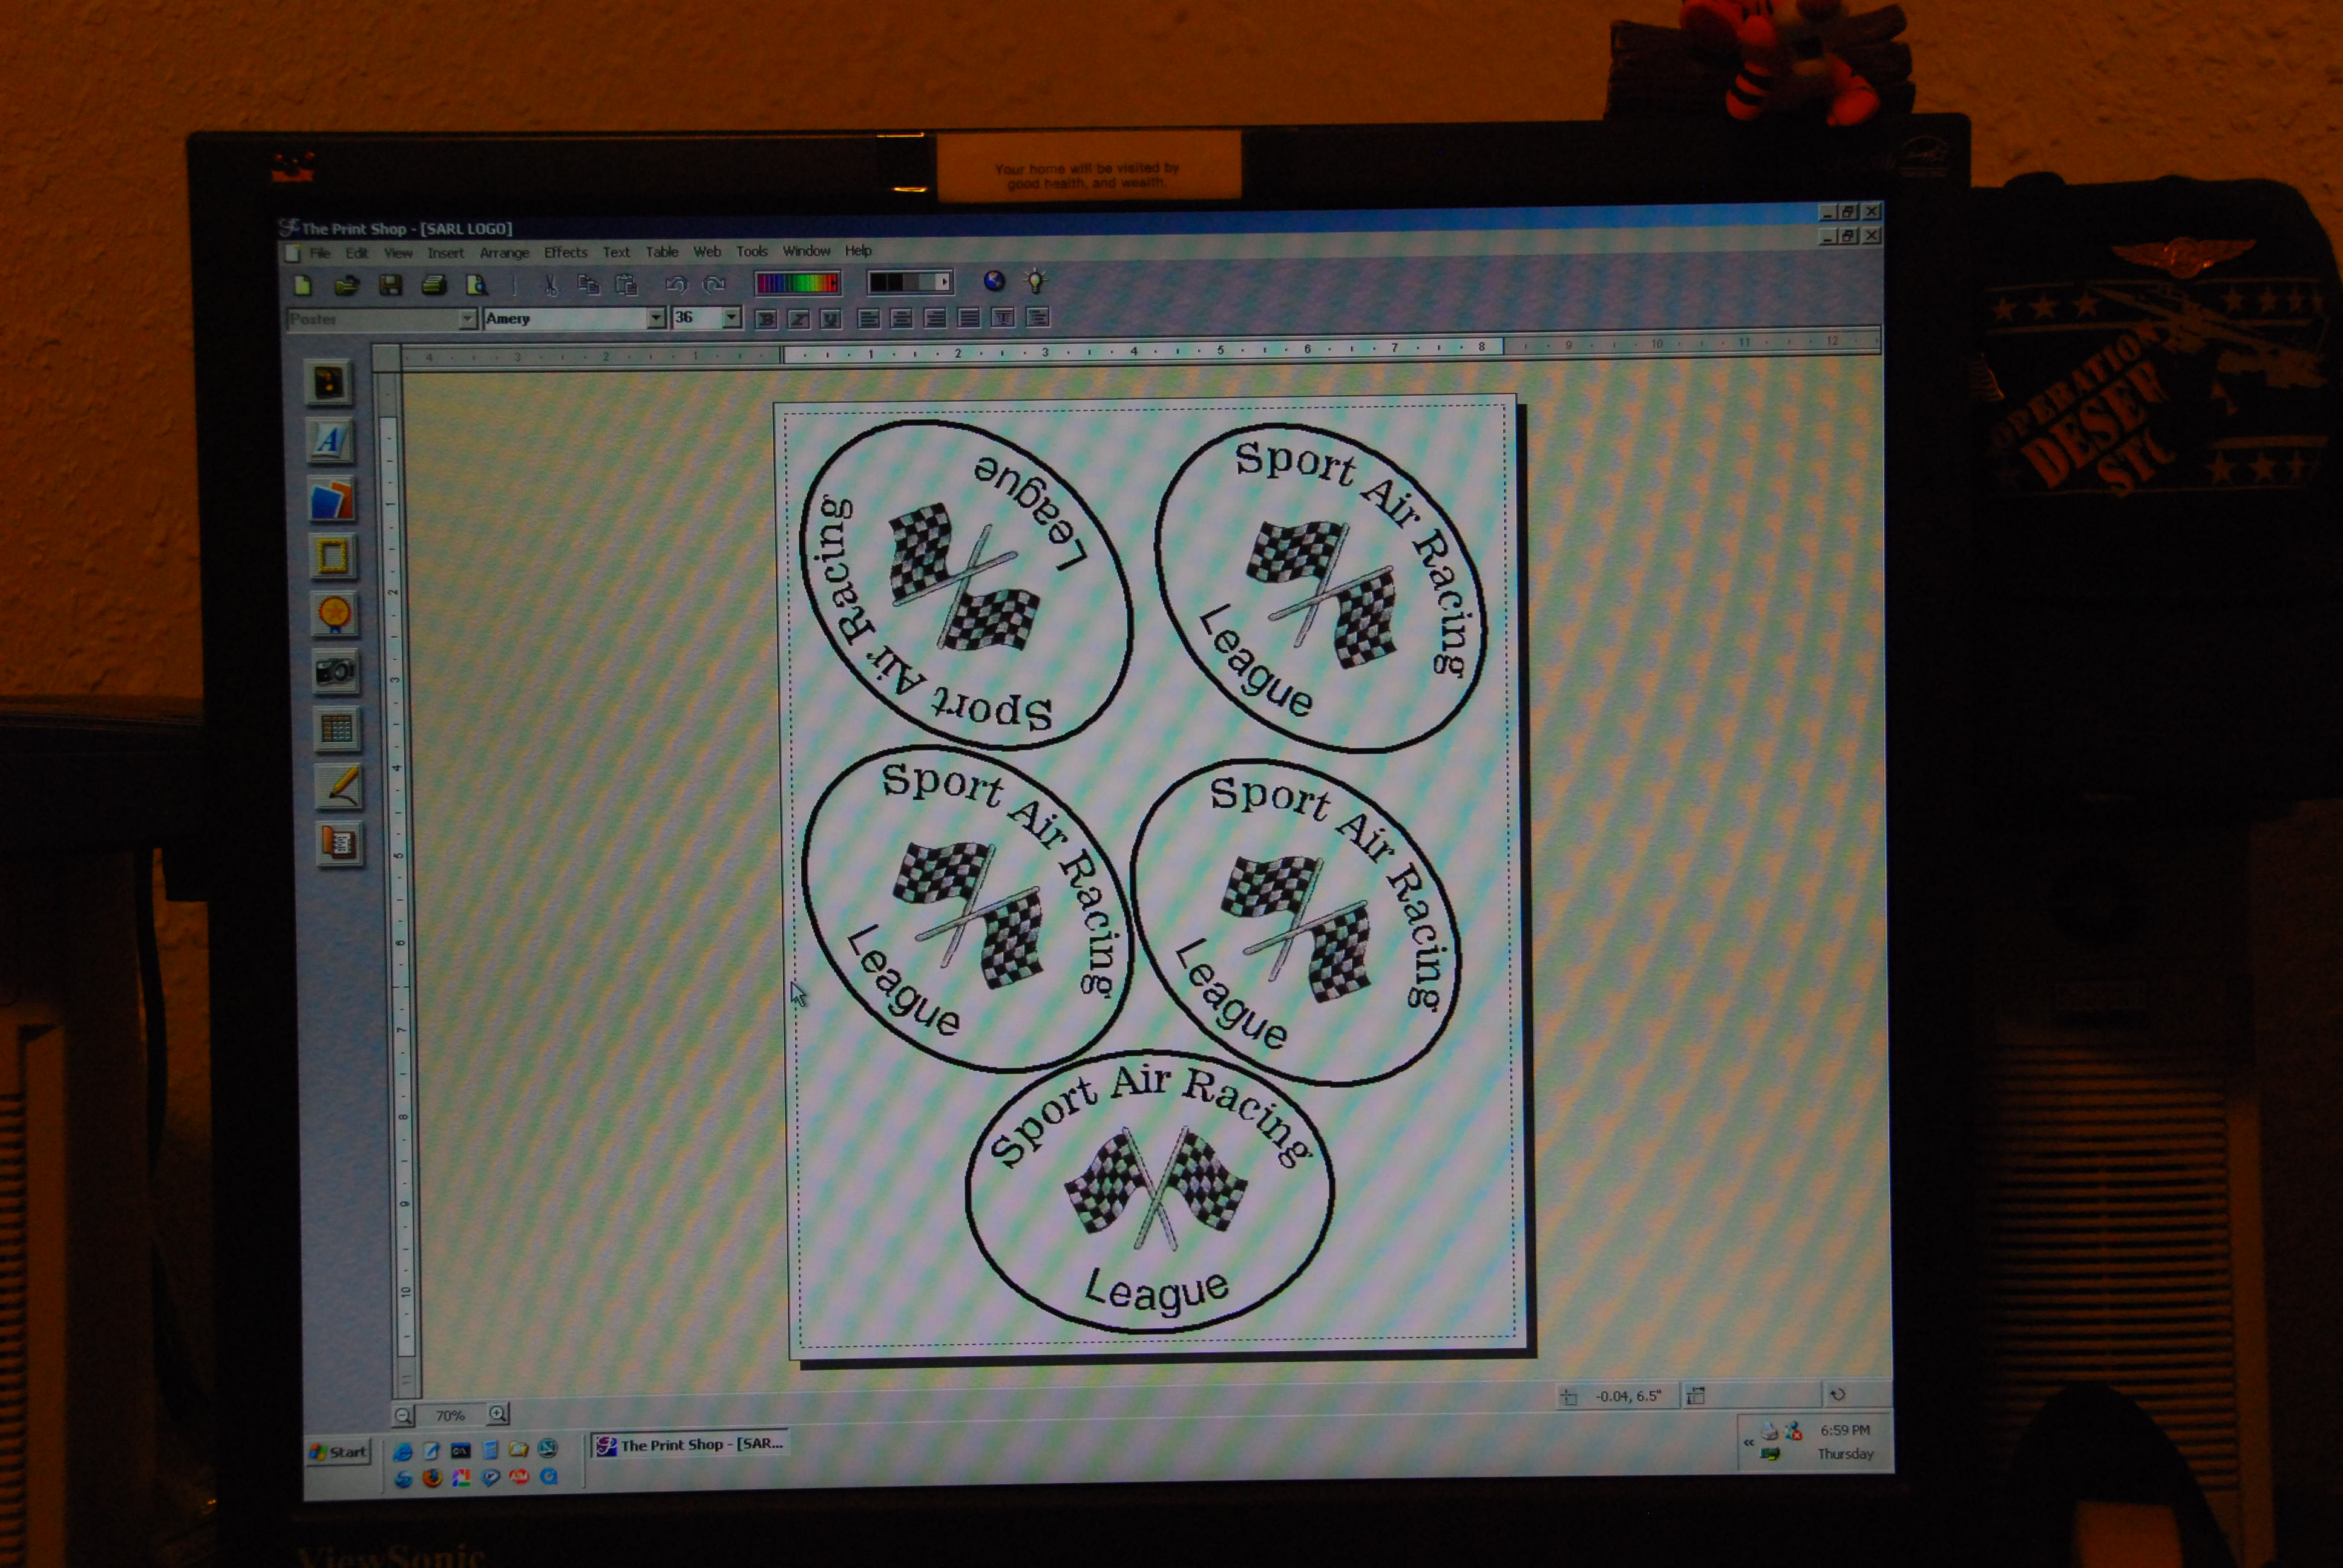
Create your race sticker using a program like The Print Shop or any drawing program that you might have. Be creative,
but a couple of words of warning:
1) Colors fade after a short time in the sun, so while you might start with a snazzy Blue or Red trim or lettering,
after the sticker has been applied to a plane and exposed to the sun, your nice sticker will quickly fade.
2) Rounded corners are best as repeated running while washing and waxing the plane will eventually pick up the
corner of a square or rectangle. You can round off the corners slightly if you don't want to do an elipse or circle.

Print your stickers. Ink Jet or Laser, doesn't matter - but make sure you get the right label product for the type
of printer you have.
I've never tried Laser labels in an Ink Jet printer or vice versa, so I don't really know what the result would be -
but there has to be a reason they sell them separately.
Now you have your sticker, and you're thinking, "Ugh. This matt finish sucks!"
Well, stay with me, wingman!
Cut out your stickers. You can group them into a sheet wide and 3 inches or so tall, but don't be tempted to lay
out a whole sheet - trust me on this.
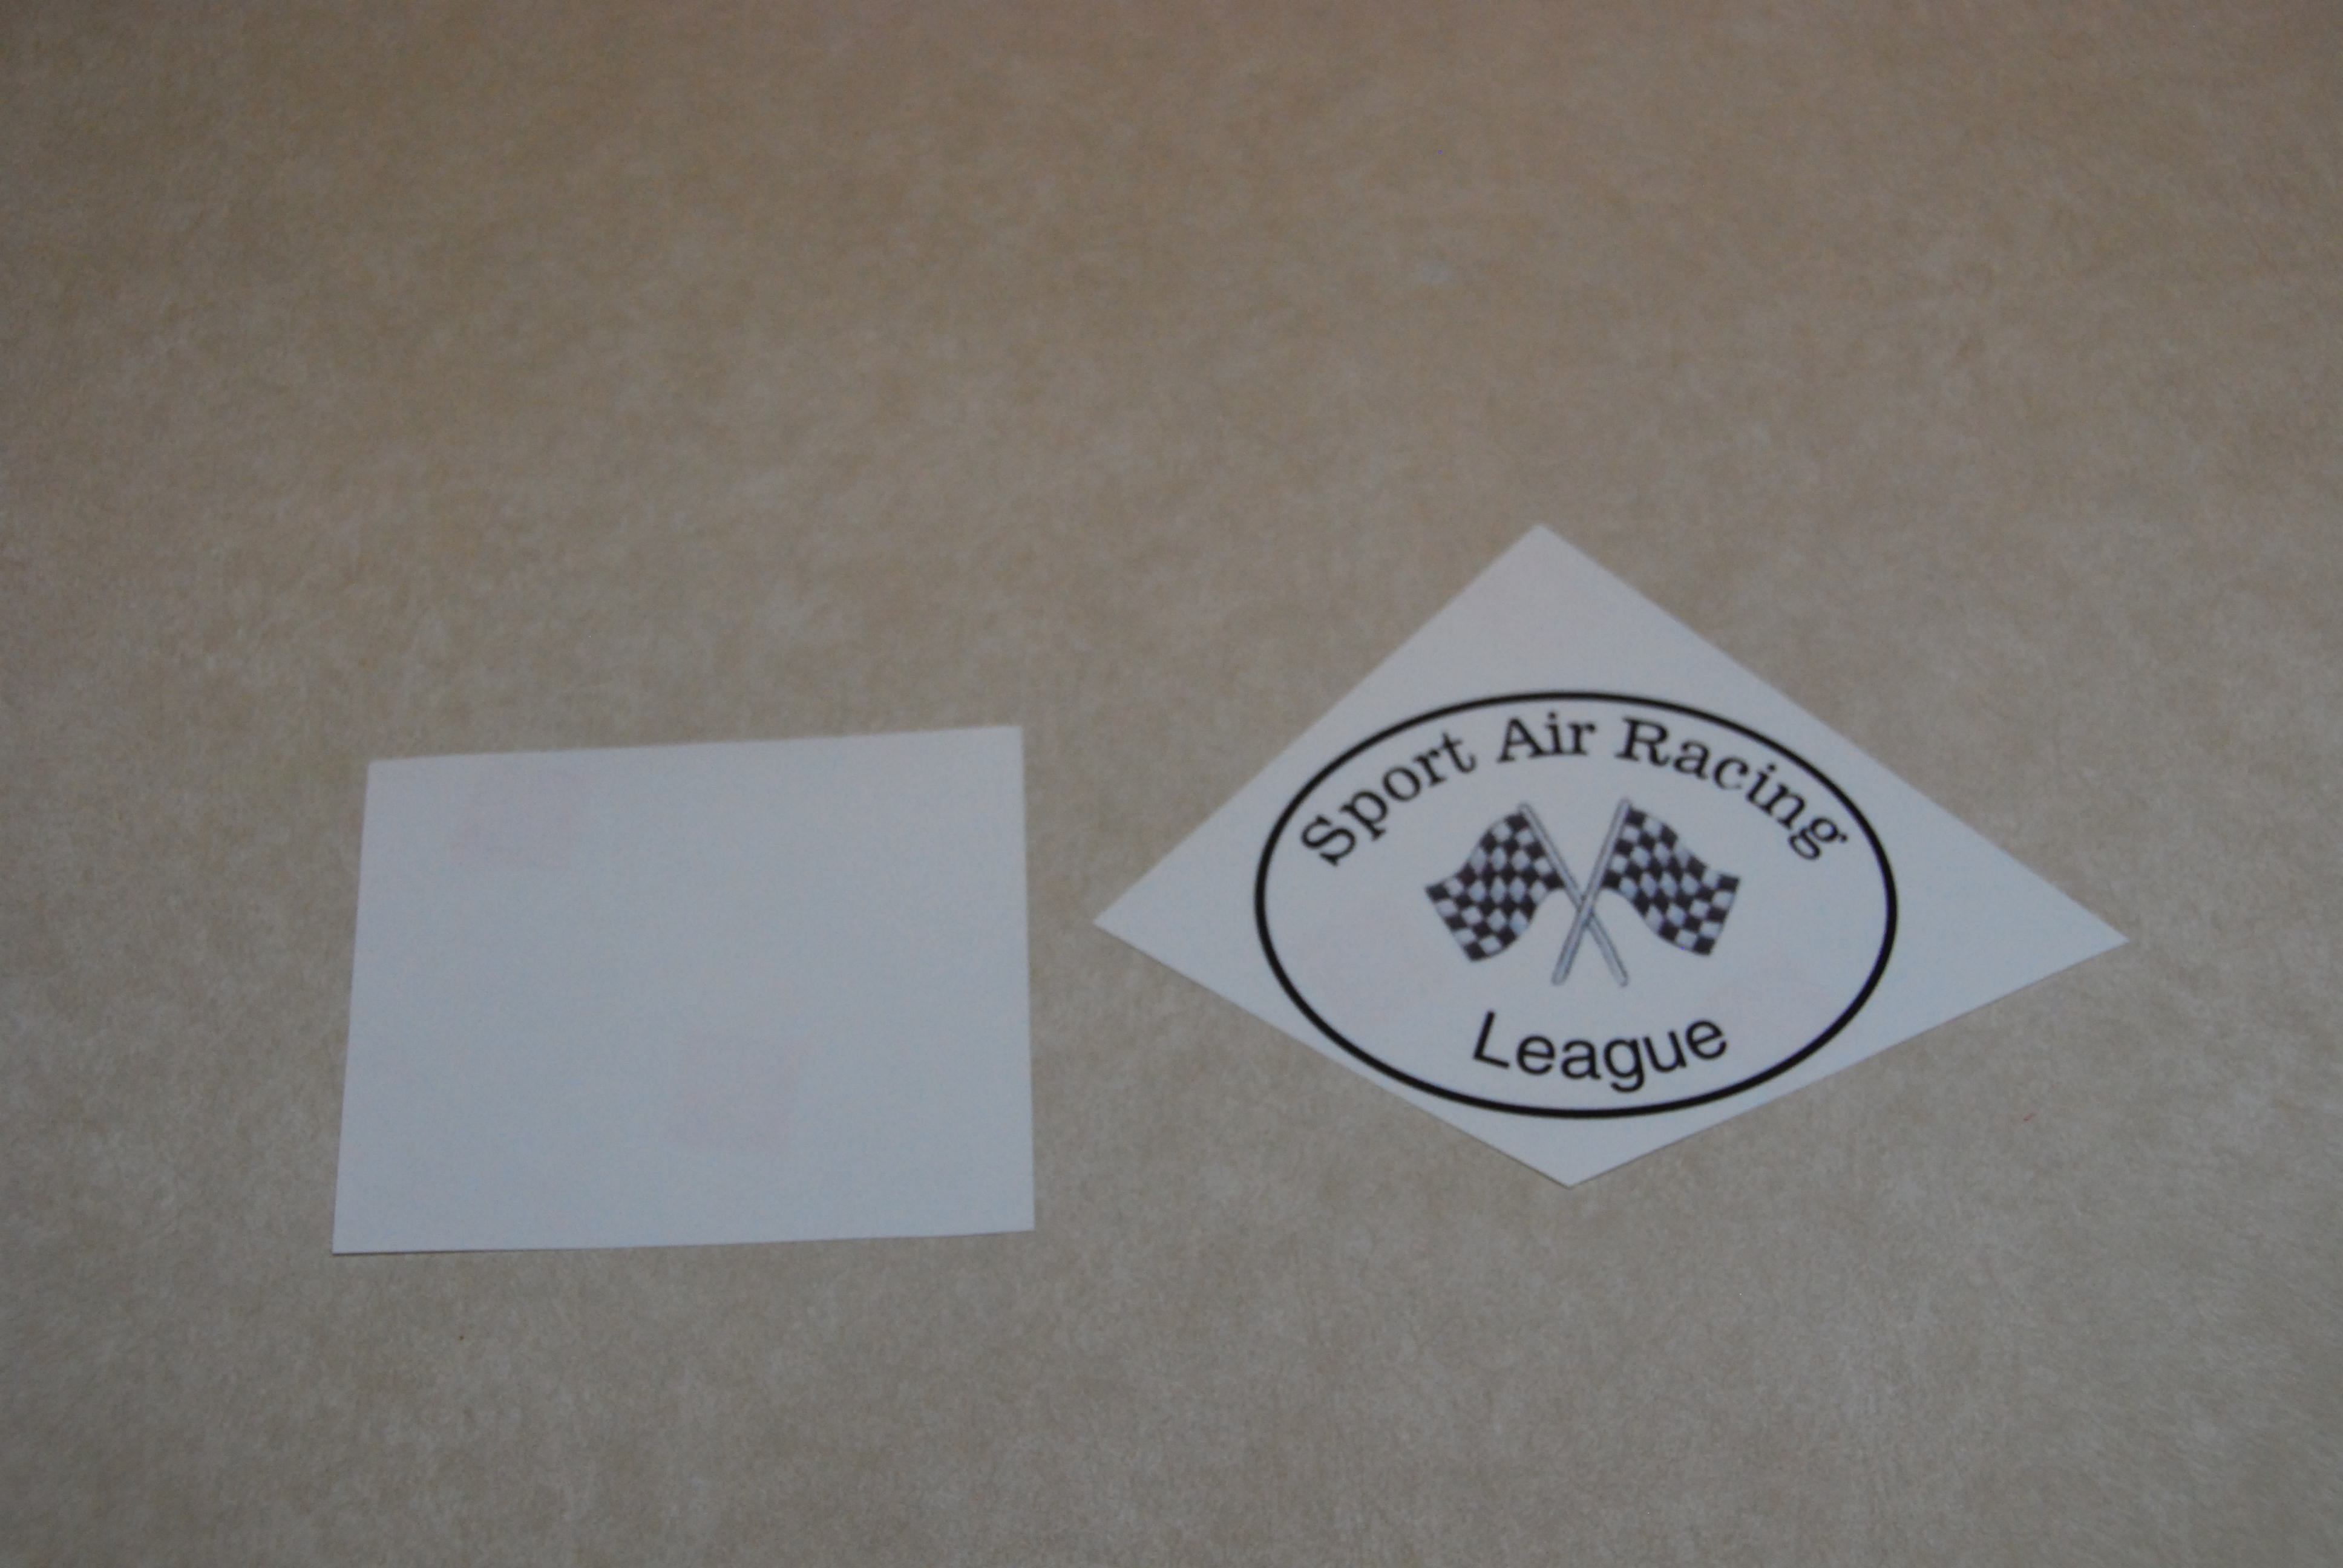
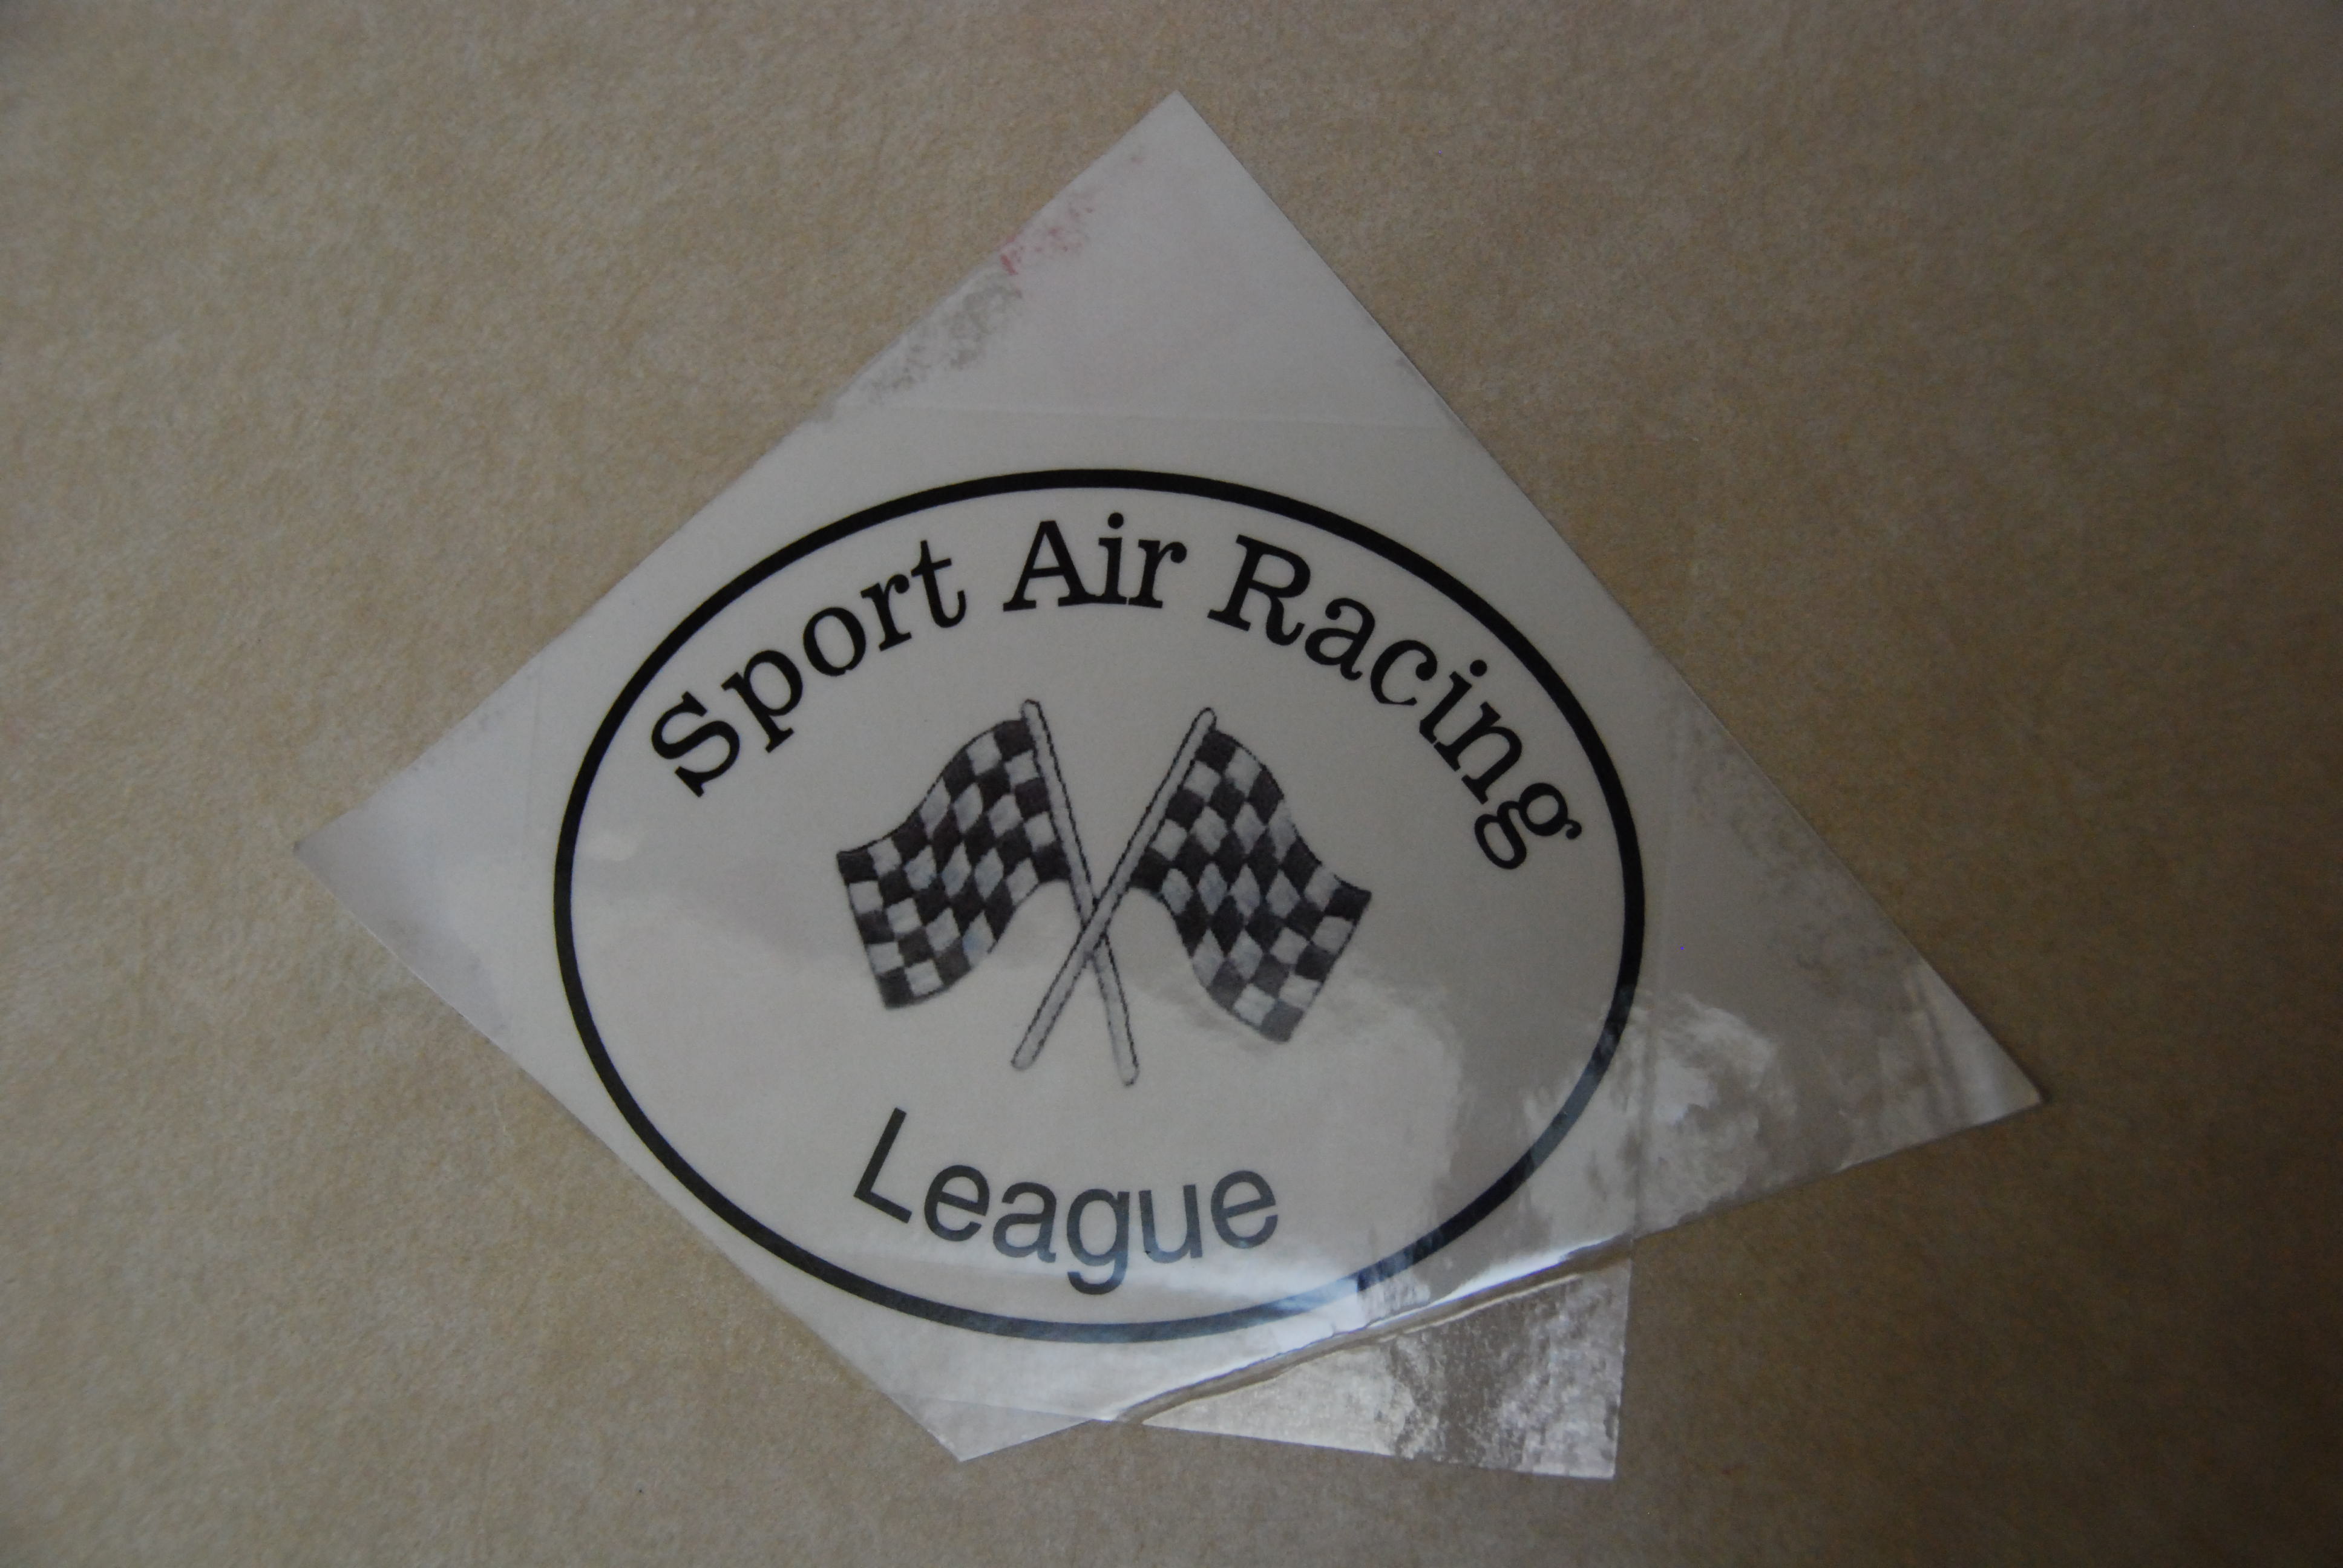
If you have to, tape the sticker to a kitchen counter top, then cut out a piece of label to use as laminate. It
only has to cover the sticker part.
Sometimes your laminate piece will overlap the sticker and make tape unnecessary. We just need the laminated sticker
to stay in place while we clean it up.
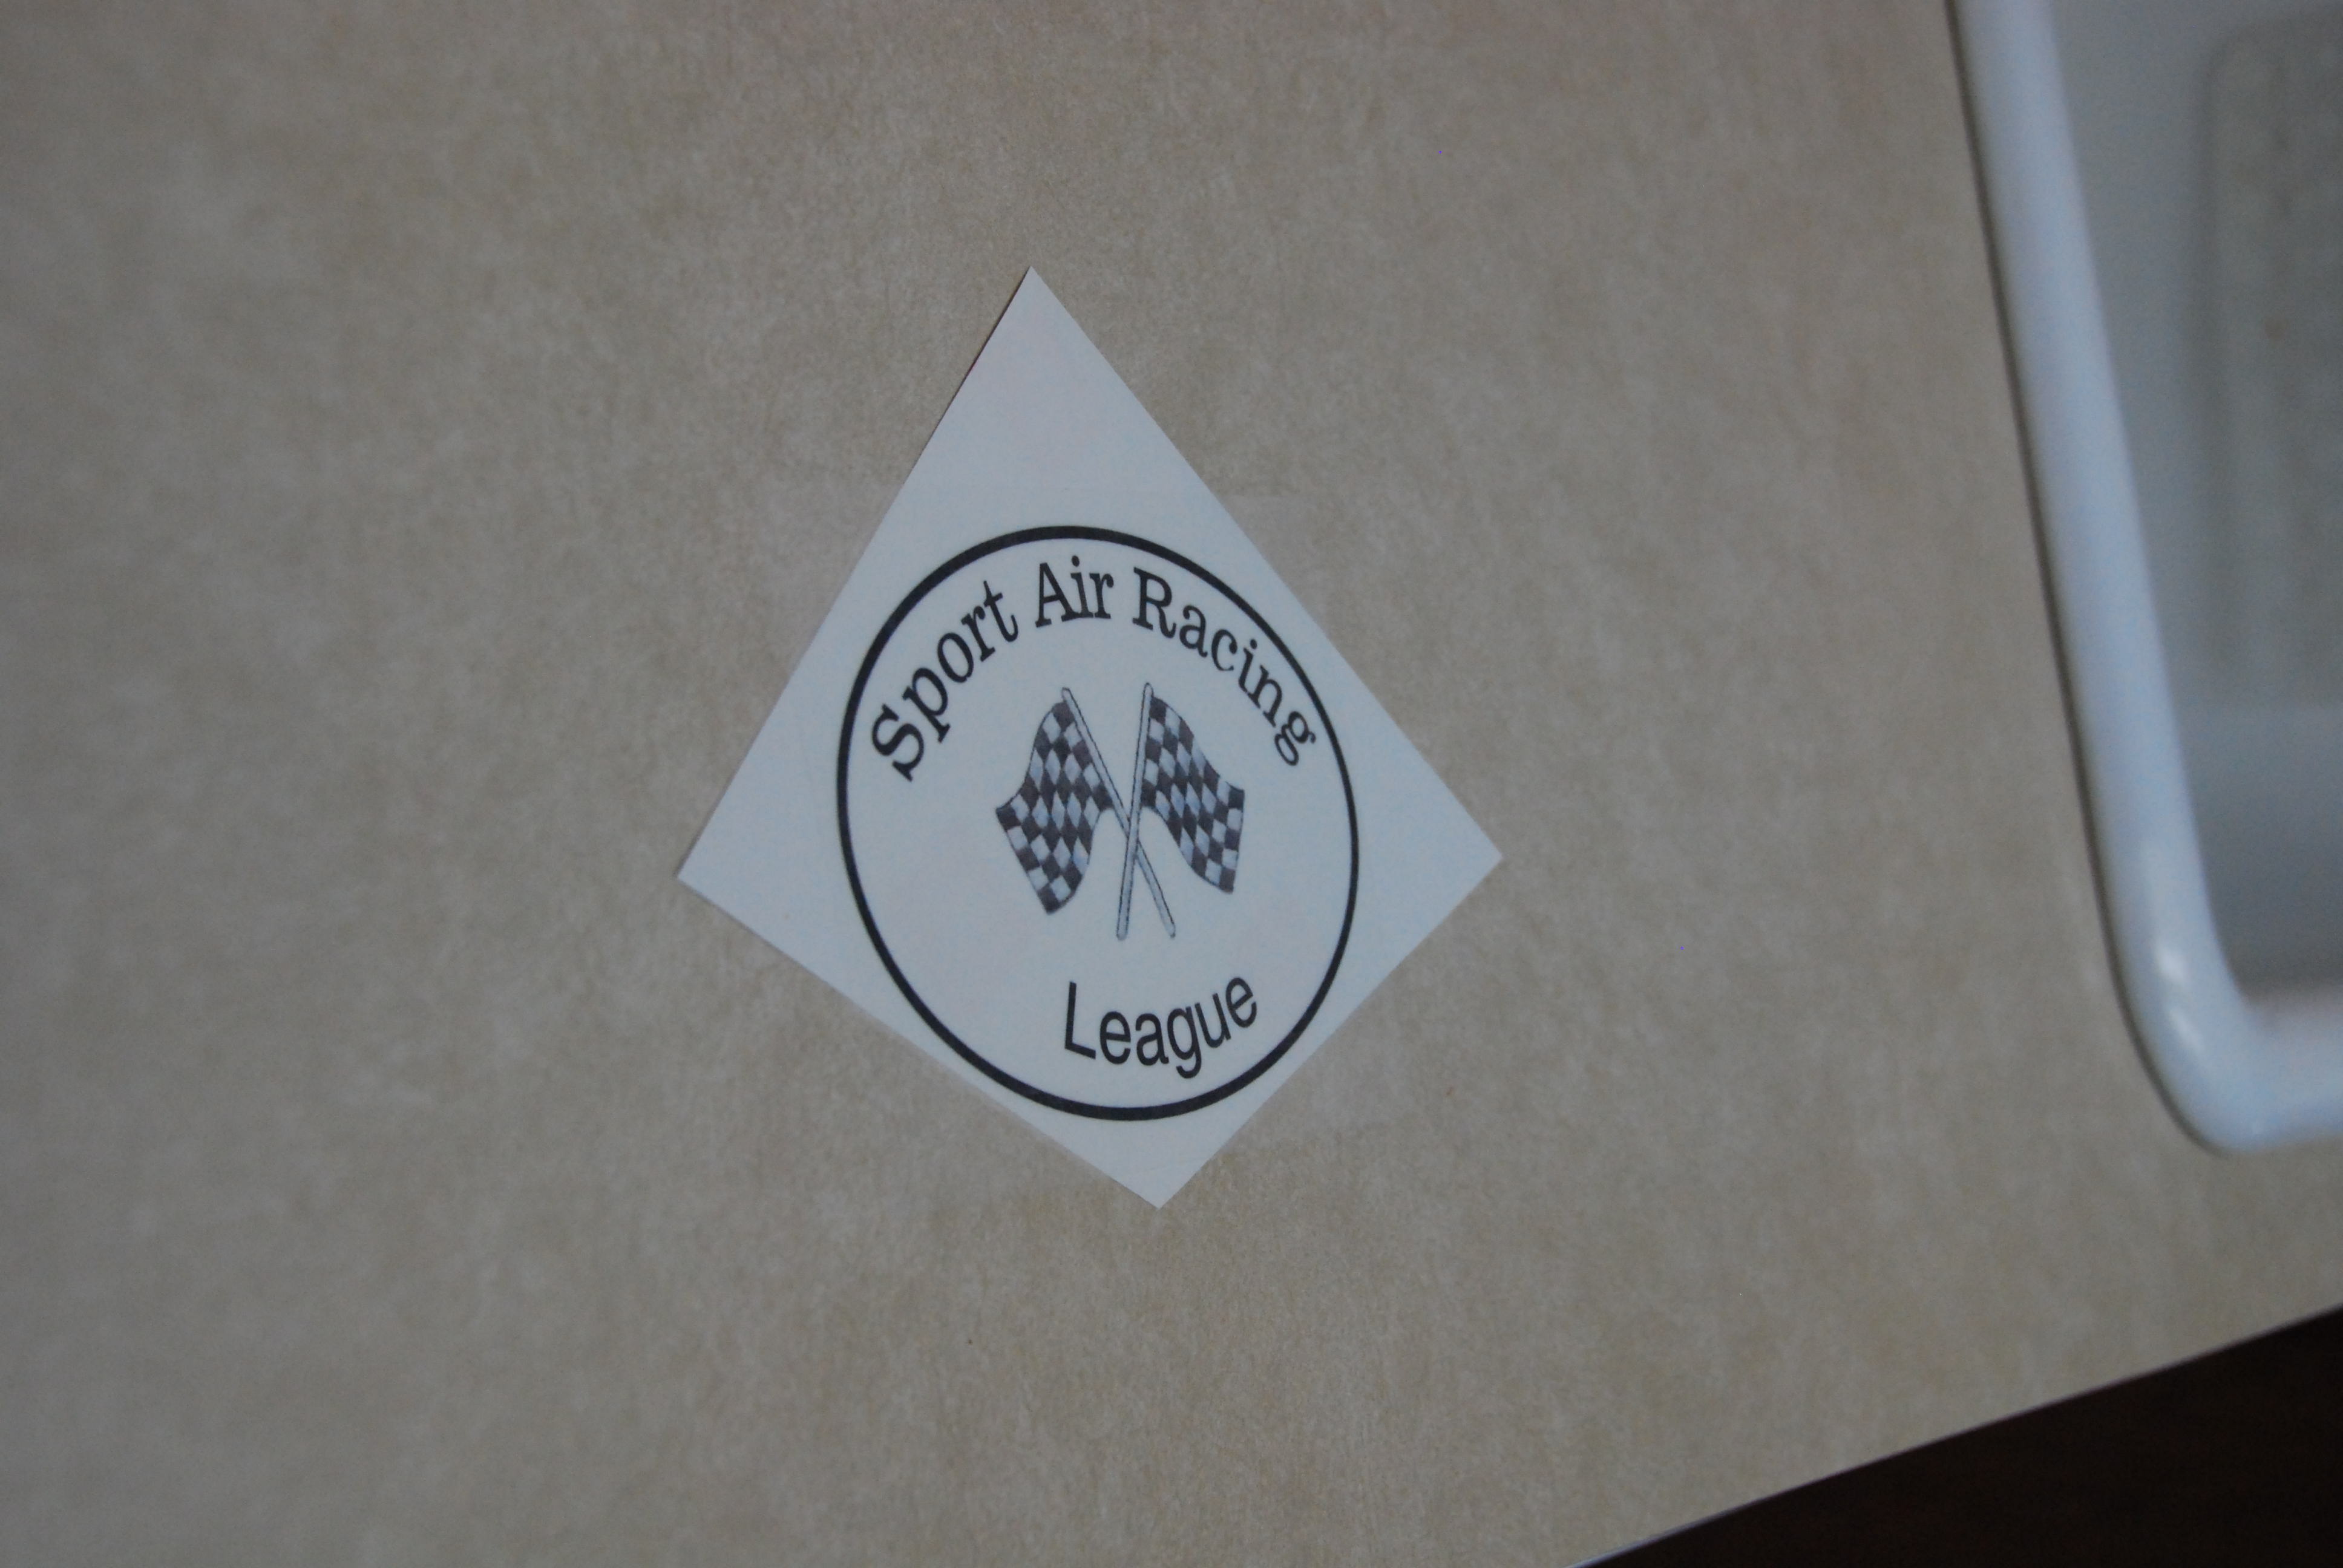
Use paper towels (white - no coloring!) and tap water to clean the surface of the laminate layer. That matt finish
will come off as a sticky, gunky, yucky mess but you have to clean it off.
DO NOT use too much water as it will soak into the paper backing of the sticker.
Just wet and rub until you have a nice shiny gloss finish on your sticker.
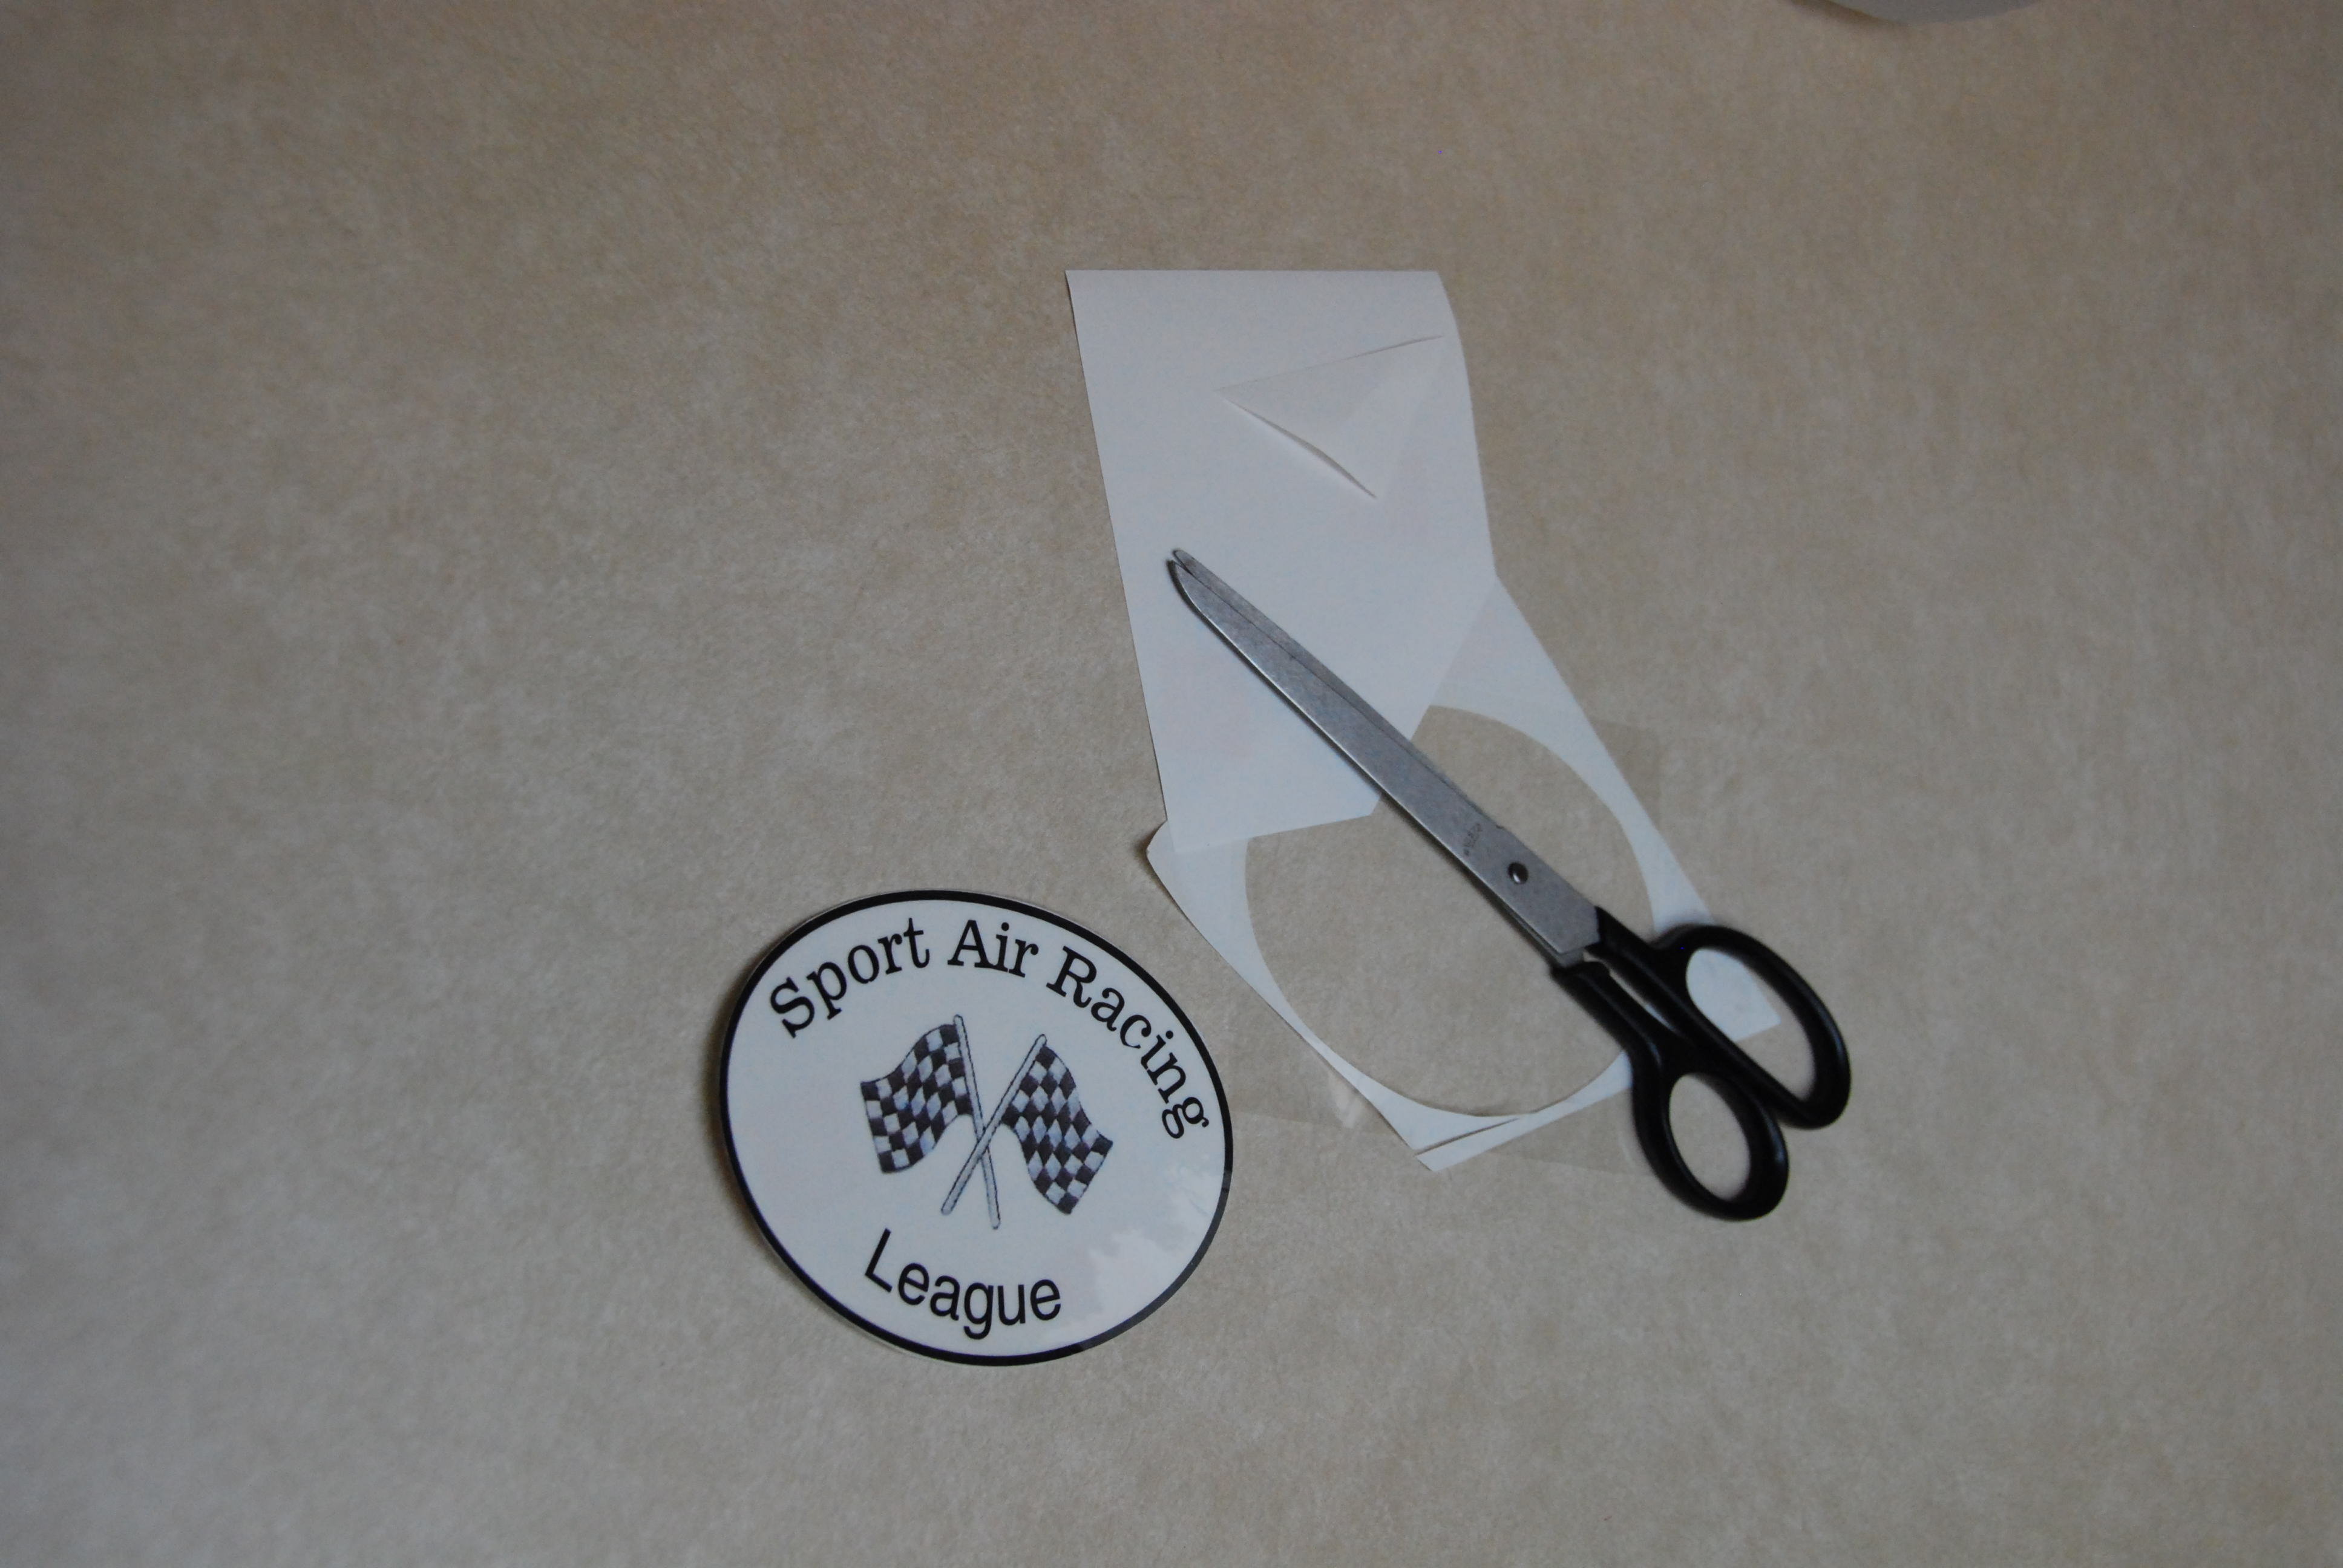
Now it's time to cut them out. If you used a heavy line border for the sticker you will have a line to follow
JUST OUTSIDE of. Don't try to trim on the line - you'll have three stickers per class (1st, 2nd, 3rd) and you'll probably
have several classes in your race, and that's a lot of cutting and trimming.
I intend to invest in a craft circle/shape cutter to give clean cuts on different shapes... but you can do a good job
with a pair of sharp scissors and patience.
A word about the shapes. Square corners are more likely to get lifted and peeled back while cleaning the aircraft.
Your design should incorporate rounded corners if rectangular, or be in a circle or oval shape.
In the following examples I didn't make up the stickers until after the race - so I was able to include specific speeds
for each place.
Normally you will have the stickers made up before the race.
Of course it's all up to you - it's YOUR race!
Below are some examples of stickers from races past:


|


